
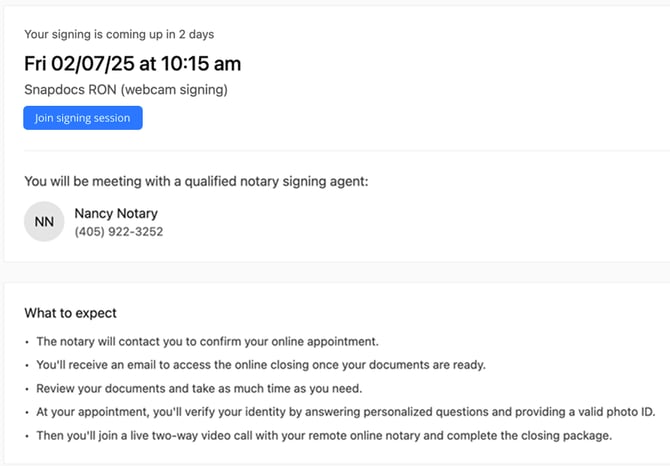
If required, the signer will need to complete KBA (Knowledge-Based Authentication) and IDV (Identity Verification).
First they'll be prompted to do KBA.
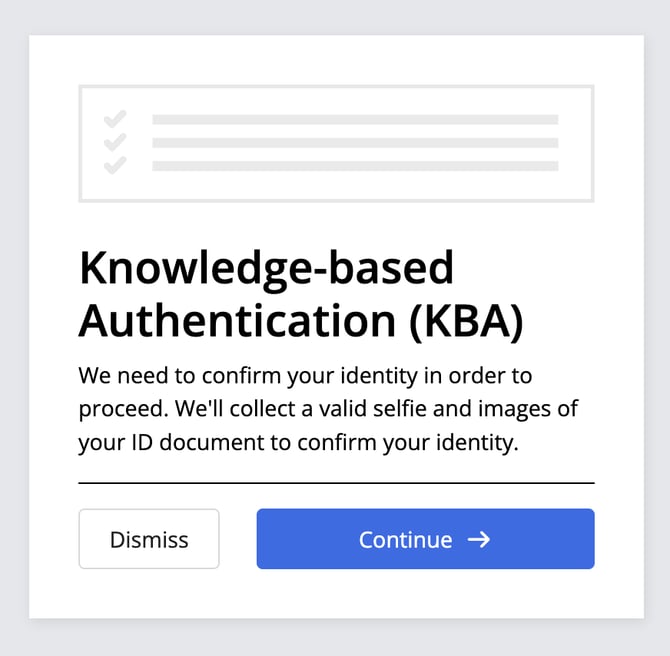
After clicking Continue, they'll add their name and address.
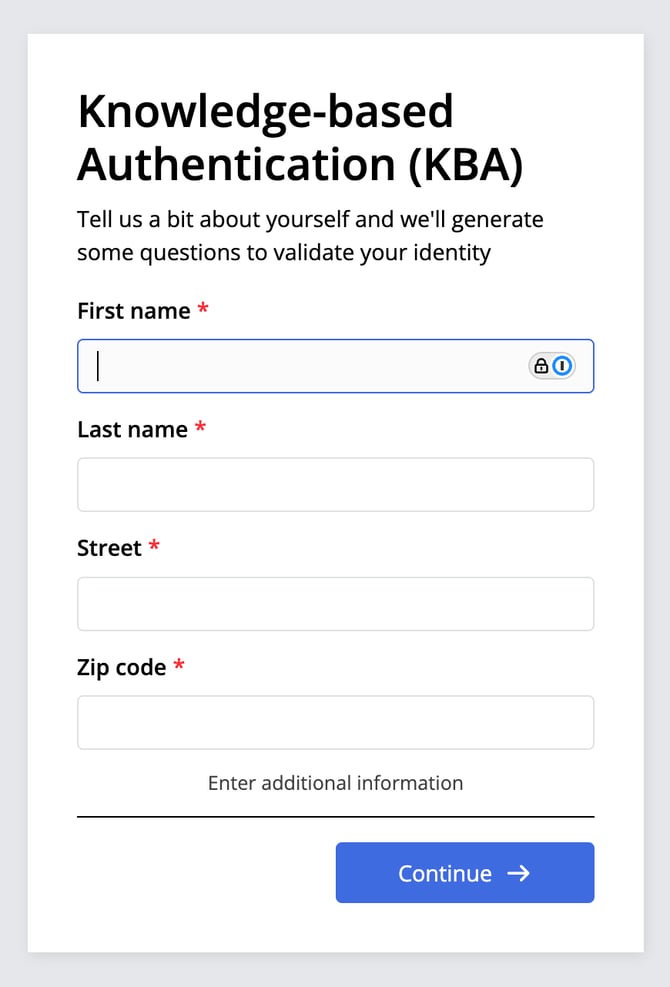
They will then click Continue again.
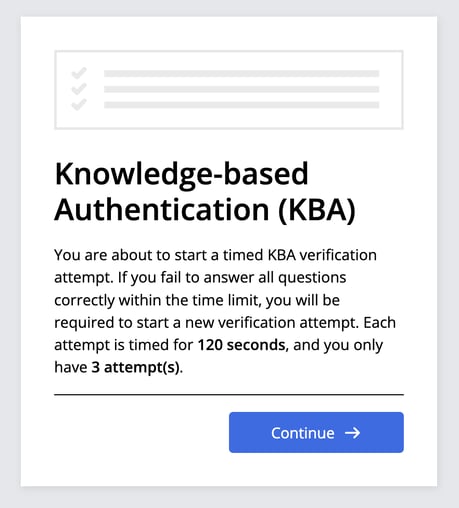
This will take them into the questions.
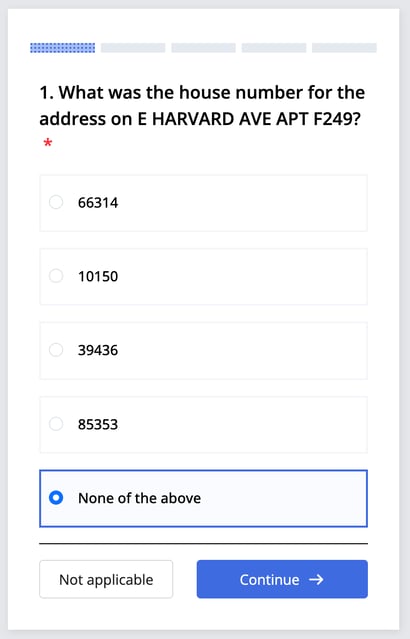
Once past KBA, they'll need to complete ID Verification. They will be prompted to either use their mobile phone to scan the QR code or they can click on Option 2 and use the camera on their current device.
If the signer is on a computer, performing the IDV on their phone via the QR code is the preferred method as the cameras on phones tend to be of higher quality.
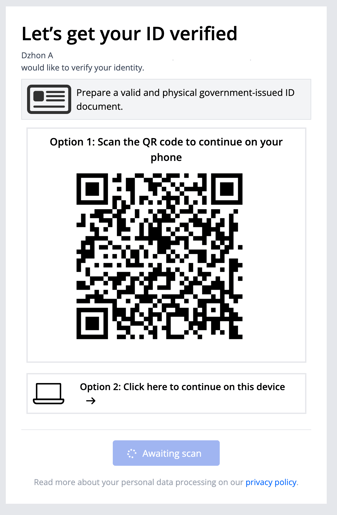
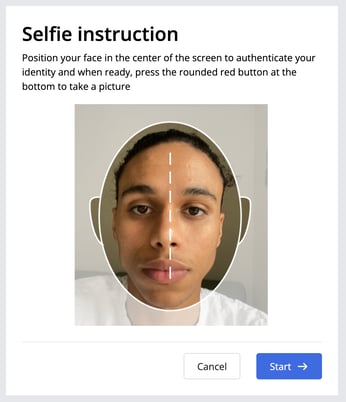
Once the method is chosen, it will then prompt them to verify their ID by taking pictures of their face and then of their document.
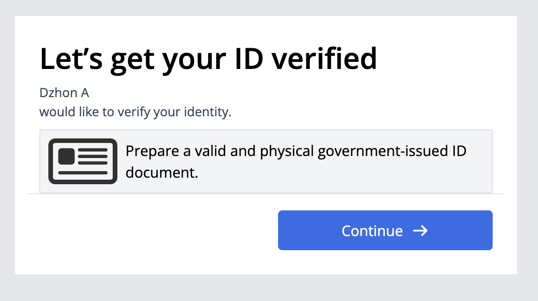
First they will take a live picture of their face.
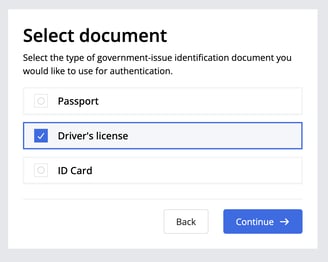
Then they will be prompted to select their government-issued ID to verify. They can choose between a passport, driver's license, or ID card.
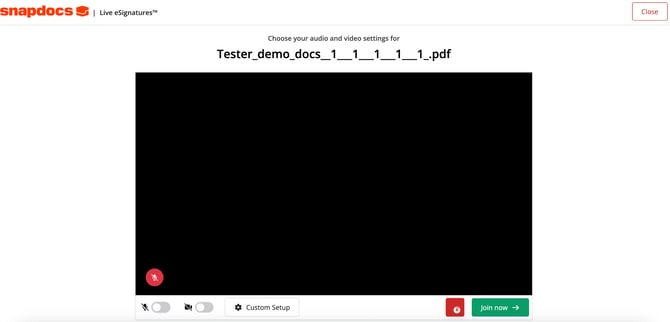
At the time of the signing, the signer will open the direct link (via email or from the order in Notary Connect) to access the RON signing. They will test their camera and audio before joining.
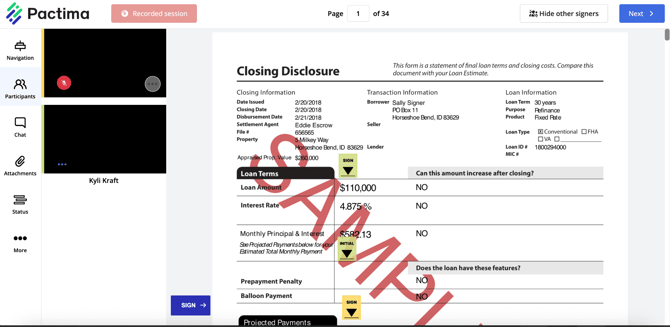
The notary will direct them through the signing.
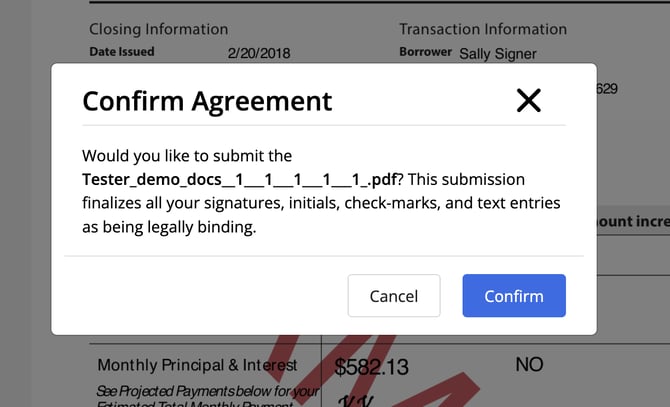
After all the documents are signed, both the notary and the signer must agree and finalize the package.
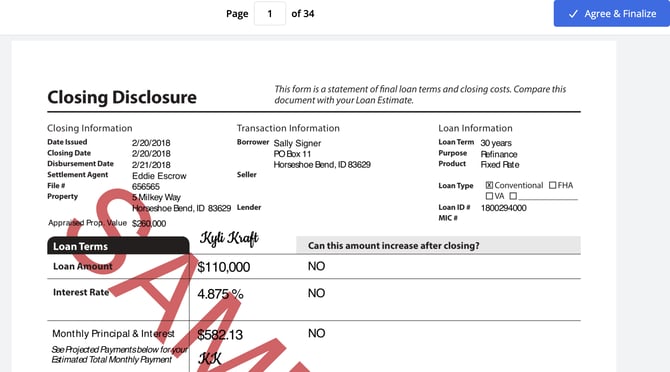
Once done signing, they will need to agree to submit their signatures.
Once the notary ends the session, the signer will be taken back to the main Snapdocs RON page.