It will highlight the process from receiving the notification of the new closing to creating and requesting the mobile notary. This process will require you to sign in to both your Lender/Settlement and Client accounts.
Step 1: When you receive an email for any message coming from the Lender you are working with regarding a split signing. Open the email message. Select View Closing then login to Snapdocs.

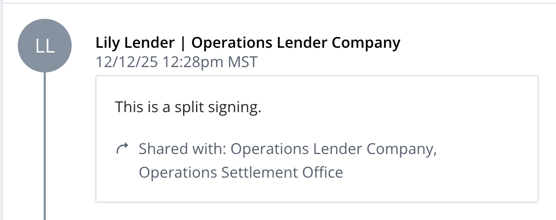
Step 2: On the closings page, scroll down to Activity to view any split signing information:
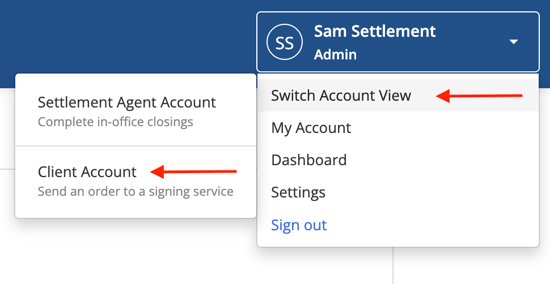
Step 3: On upper right corner open the drop down menu and then hover over Switch Account View. Then select Client Account.
Step 4: Log in to your client account if prompted to.
Step 5: Select + Add Order.

Step 6: Enter the split signing information from the lender into the order form.
Ensure the form includes the following fields:
- Lender
- File # (copy file number from Closings page)
- Add Participants (Add Closer email address from closing page)
Ensure the following notes are added to Special Instructions field:
- File number
- Type the following: “This is a split signing, part 2 of 2”
Step 7: Select Create Order. This will be the second order of your split order signings.
Step 8: To create the other order, return to the closing's page with your Settlement Agent account. Scroll down to the Notary order box.
Step 9: Select Request a notary.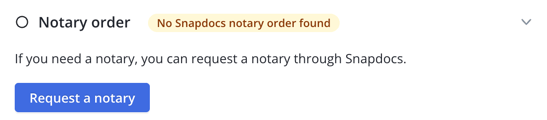
Step 10: Complete the form. In the instructions box add the following: “This is a split signing, part 1 of 2. Please adjust the Fedex label to have docs send to the 2nd notary."

Step 11: Select Request notary. Wait for the signing to complete. This could take up to 24 hours.

Step 12: Return to Client Account and search for order by File #.

Step 13: Scroll to Documents box and download scanback documents.

Step 14: Return to order Closings page and Upload scanback documents to order.